


WARNING: A VERY LENGTHY POST WITH LOTS OF PICTURES
Having completed 3 days of professional wedding cake, I was under the impression that the 3 days was meant to be tougher than this 5 day! Quite a misleading piece of information. I guess, the thought that the 3 days is not meant for beginners but the 5 days is... kinda made me think... 'I've made it through the crazy 3 days... this 5 days shouldn't be so bad...' - and I made plans to meet up with my gal friends as well as old sugar buddies after class every night!
(note: it's been a week since the class - i will try my very best to relate our 5 days correctly :P)
5 days Squires Kitchen Professional Intensive Cake Decorating Diploma
DAY ONE
Arrived back to ICCA Kota Damansara.. Chose the same seat as before - immediately missing my sugar buddies from the 3 days especially my 'live radio' just behind me..
Then we were given a tray of our new toys! A lot of stuffs! The best part this time... it is FOR US to take back! New cutters, embossers, squire's colouring set, new sugarpaste tools (should have taken pics) and lots of different kind of paste - marzipan, pastillage, squire's gumpaste, mexican paste, etc...
We were introduced to marzipan. Marzipan has almond while fondant does not. Fondant is really sweet but this marzipan we got to try, has been brought in from Canada by Rosalind and it is so yummy - not sweet! So much better tasting than fondant! But it's abt 4-5 times more costly - yikes!
For starters, we are asked to cover cakes. 1 real buttercake with marzipan & 3 styrofoams with fondant. We were also warned how intensive the course will be and we have to move really fast. (I was still taking it quite lightly :P)

Marzipan - done
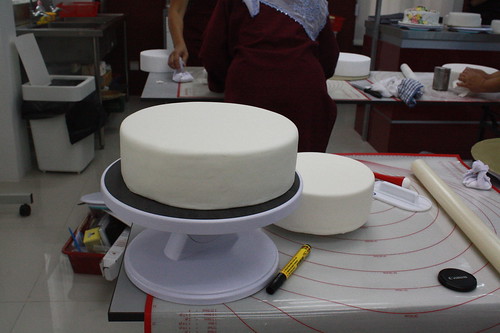
3 styro covered! (one more is placed elsewhere-limited space)
Then we were given crimpers to play with. I actually own a couple of these but never used them! So it's good... we have to use these before our fondant hardens.
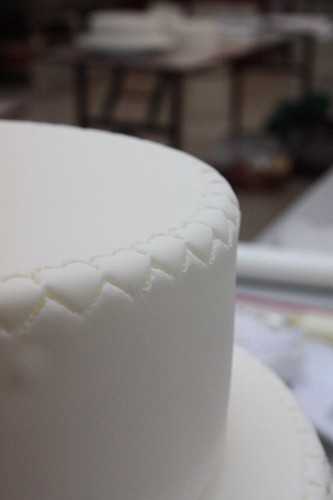
I took the heart shape crimpers and this is the result!
It looks alright but I'm not too crazy abt them...
Then we are thought how to make markings on cakes using paper - simple cheap & effective method!

just fold, cut the shape we want, put it on the cake & make the markings!
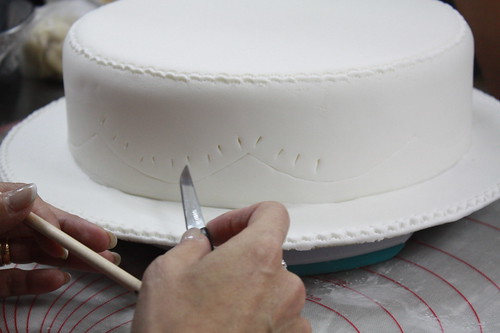
Result of marking using a knife. Then we are shown how to do ribbon insertions. First, we make markings like the above.
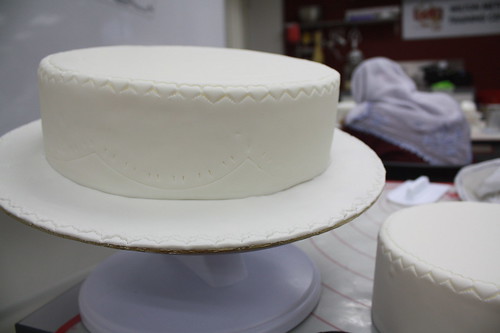
And the result! :)
Then we are shown how to do it... oh-so-pretty! I like!!

Result of ribbon insertions :) so pretty eh!? Tedious but worthy
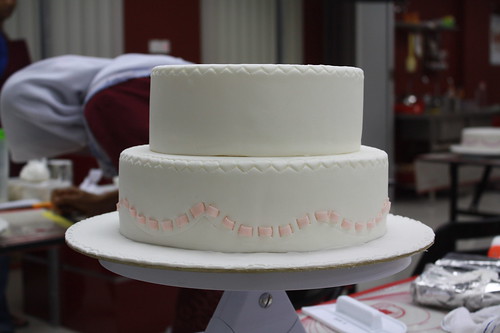
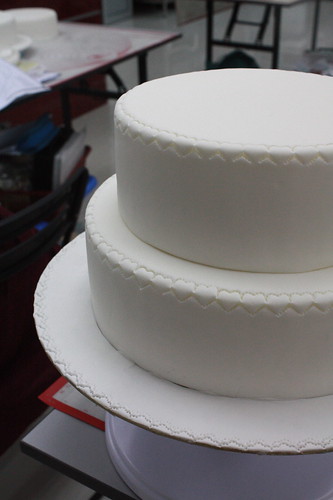
This is going to be our 2 tiered wedding cake :)
Next... we are introduced to Royal Icing - arghh... I'm not a big fan!!! We are to draw some patterns and flood them with royal icing - colour choices up to us...
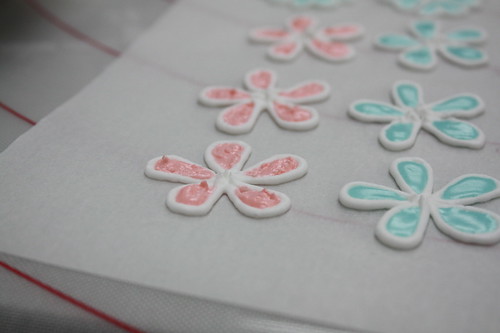

The result!
DAY TWO
Day 2 began with - "lots to do today!"
Still working with royal icing, we are to make a 'collar' work (i hope this is the word)

First with thick consistency icing, we outline our collar
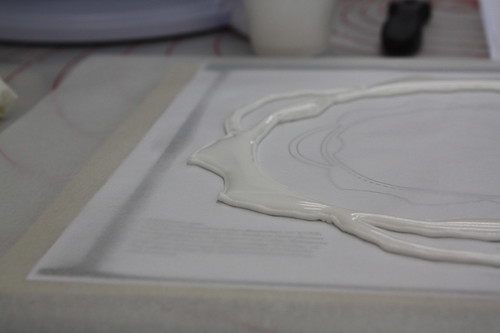
Then we flood it with loose consistency
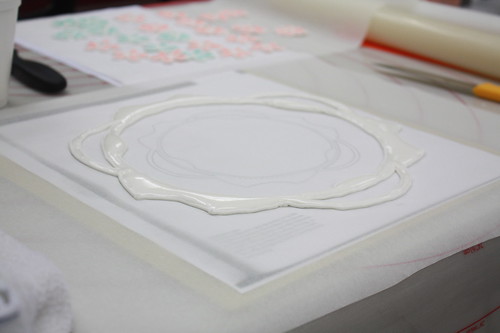
And then we leave it to dry!
Then we worked on our butter cake covered with marzipan. Because it's a real cake, we gotta hurry to finish it so that we can bring it home while it's still fresh! New technique - covering a cake with royal icing! I love covering the cake board with royal icing :) So pretty :)
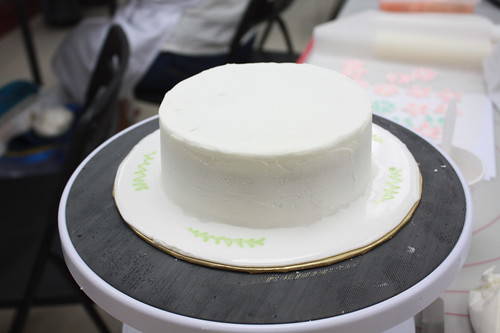
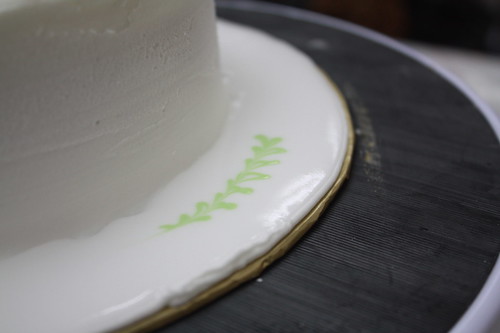
simple designs like this can be made while the royal icing is still wet :)
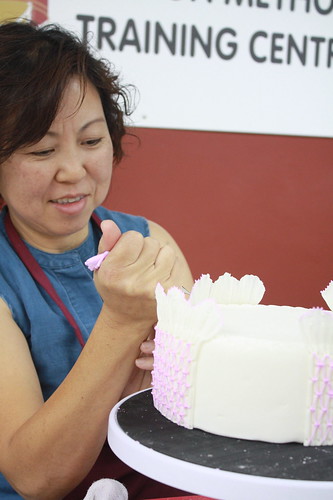
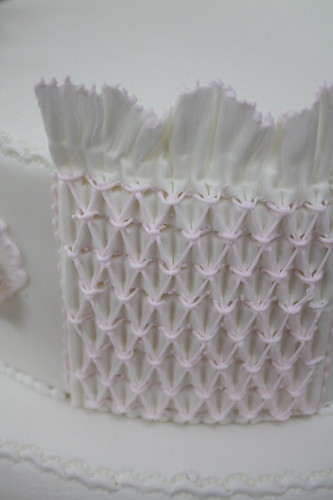
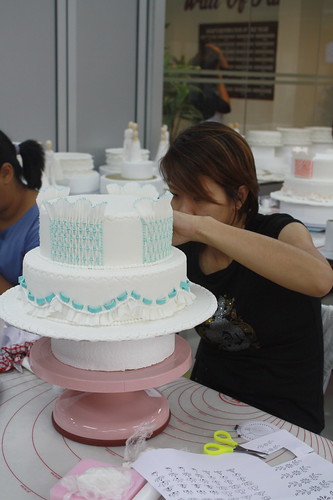
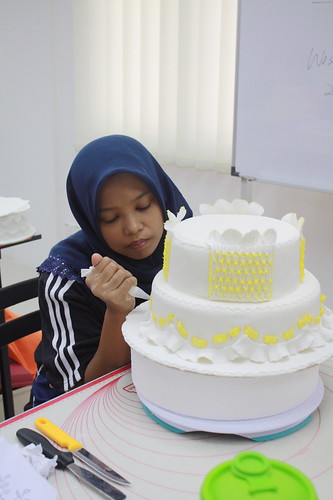
Next up - Smocking! We were introduced to this technique during the 3 day and I was glad we didnt have to do because I saw how crazy difficult it was just looking at Ambika's work. But during the 5 days... we have to do-it-all! But it is really pretty...
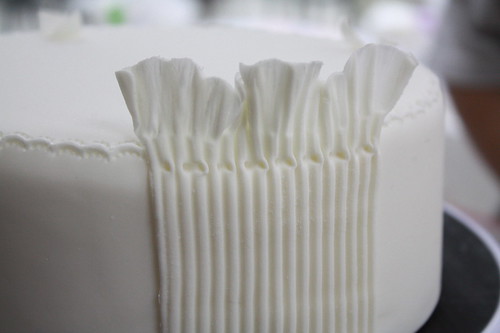
First we roll embossed line on the fondant, cut them to the size we want & frill the top! Then using small tweezers, we do the above!
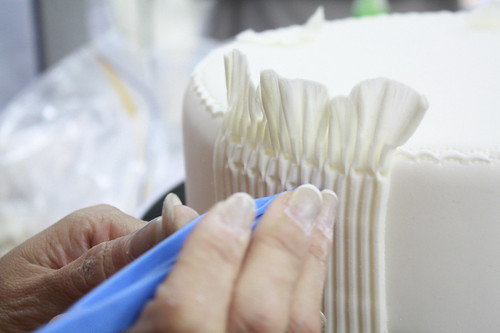
then the next row and the next and the next...
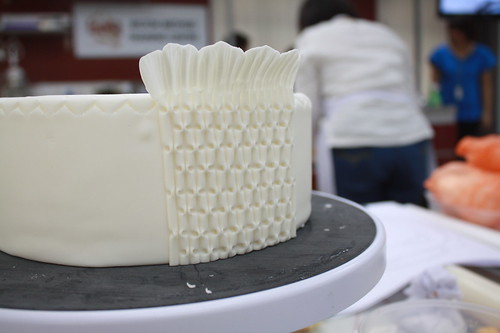
and the result - pretty-eh?
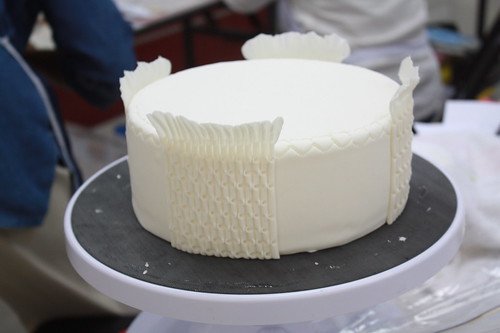
We did smocking for 4 sides of the cake

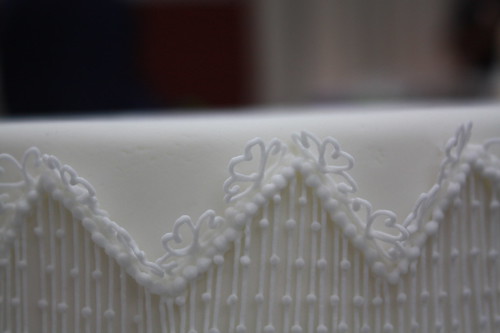
And then the crazy tedious work began... using royal icing, we had to do stitches, bead work and gave it final finishing with tiny dots on top of the frills! Madness!!!

The whole classroom was very tensed up & quiet...
So Rosalind wanted us to 'de-stressed' and suggested for us to do figure modeling! We're asked to do an elephant & a dog using marzipan mixed with fondant.

my little elephant
and my doggie
Then we have to complete our butter cake... Remember those royal icing flowers we did earlier?
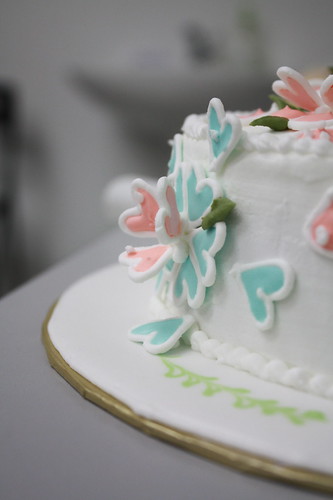
We assembled them on the cake
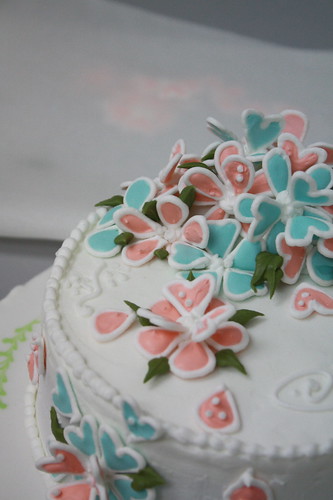
I wanted mine to have a butterfly feeling/effect!
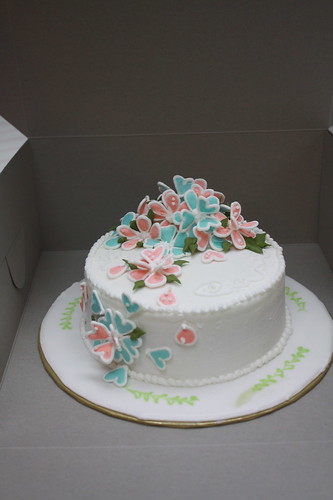
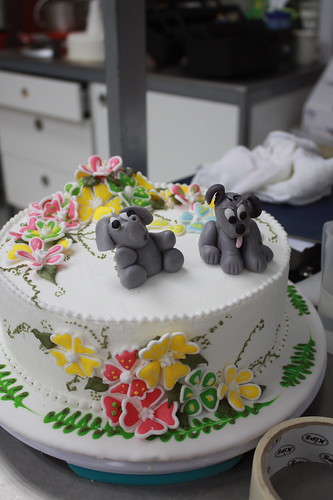
The final result! I did not bring it back but gave it to ICCA... it'd be too painful to cut it open!

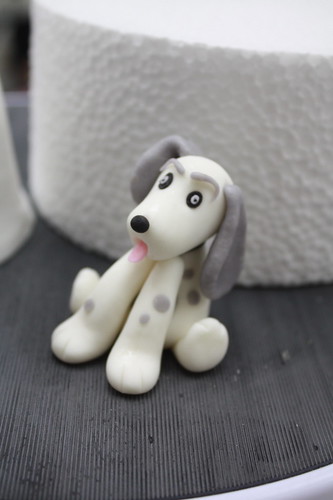
Figurines by Rosalind...
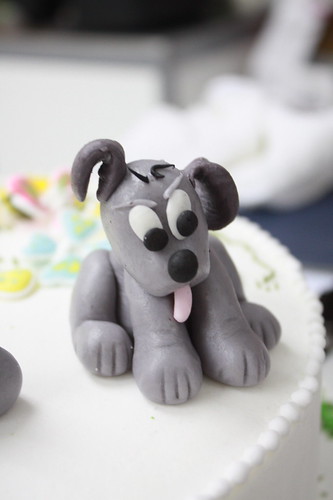
aint the puppy so adorable!?
That is all for Day Two... I could feel tension coming already... hehehe. Just day 2 and we did not go out for lunch. We had someone going out to 'ta pao' food for us... Oohhh boy!
DAY 3
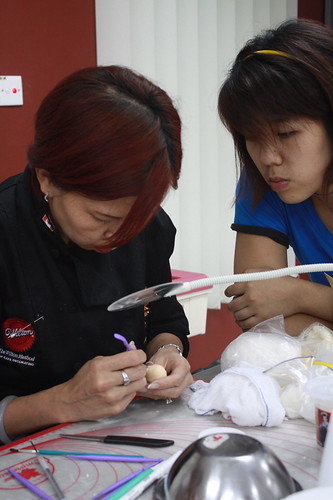
We started of with figure molding using molds. We are to do a bride & groom. We also get to work with pastillage. For the bride & groom as we need them to harden firm enough to stand. I expected pastillage to be really hard but it is actually very very soft. However, we cannot play with it too much.
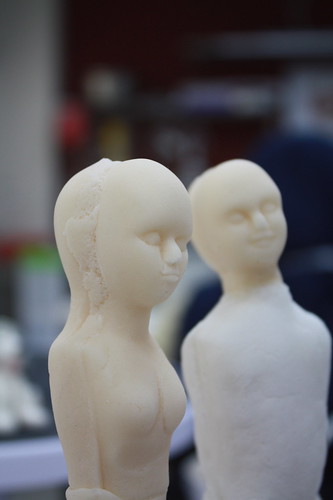
The face feature from the mold is really nice but I somehow find them too 'made-in-factory'. I guess i am still a person who prefers all things cute & not-so-elegant?
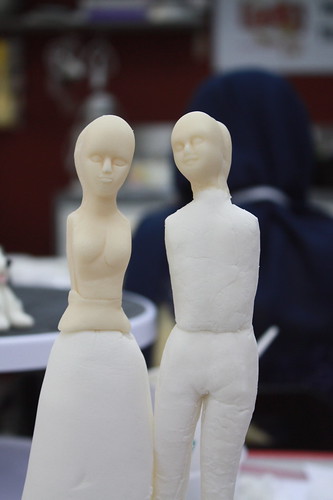
These naked figures look pretty bad eh? The cracking body from the groom is unavoidable sadly because pastillage cracks after working with it for too long. We need to work real fast. Luckily we will be covering them!
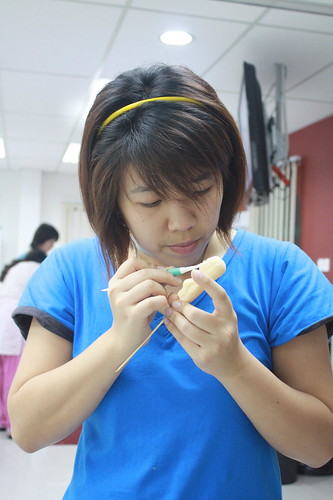
Swee San is giving it a shot @ the models using the PME molds!
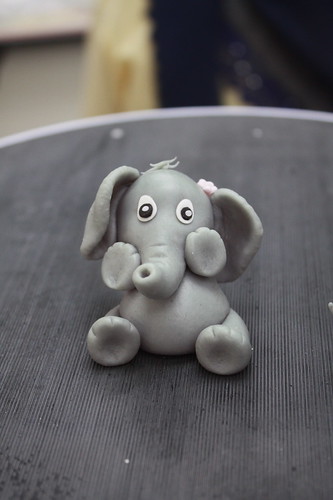
taking some time off to look at my little ele! Added a little flower for her...
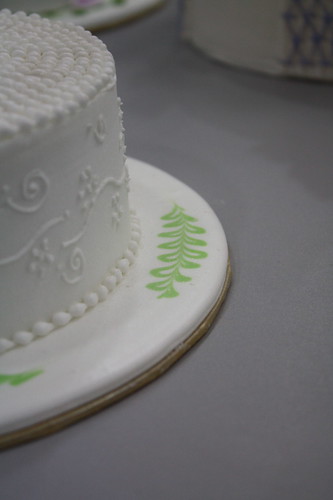
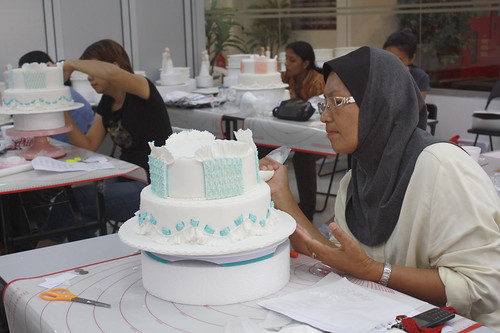
This cake is similar to our butter cake covered with marzipan & royal icing. Rosalind did a different design & i really like this design! So simple clean & pretty!
My kinda' cake design but... lots of bead work...
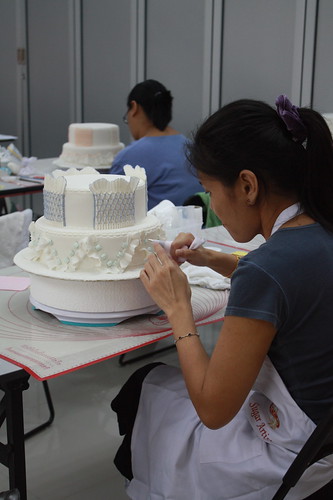
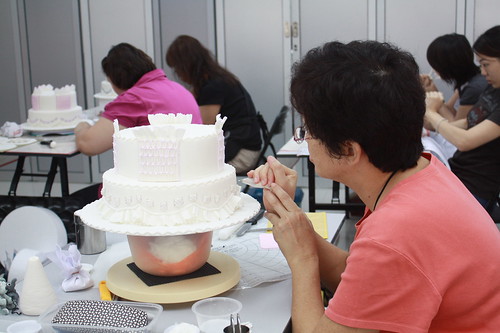
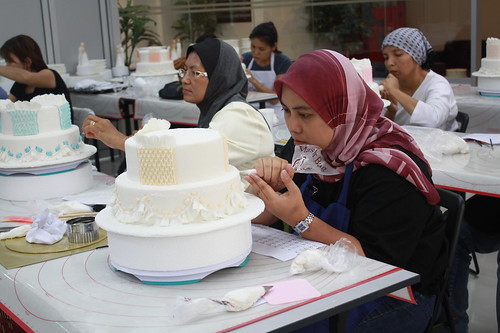
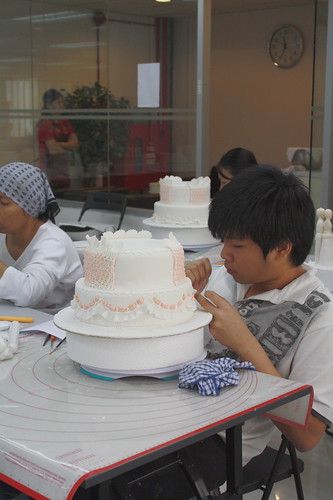
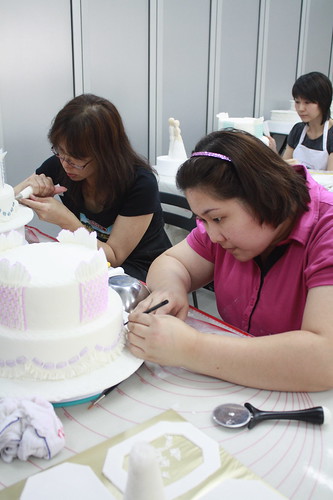
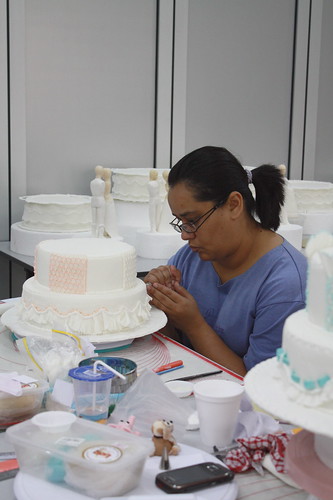
See how serious they are?
Lunch was bought back for us again. We quickly gobbled them down and we were told the next half day is going to be really really challenging. We will be doing 'string' works
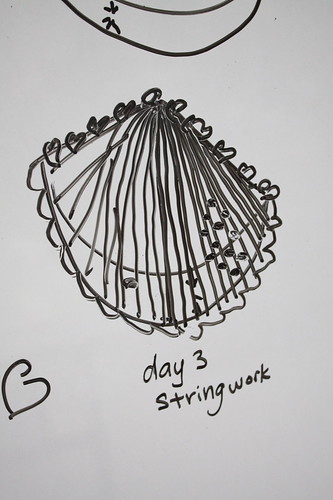
Rosalind drew this picture for us and on my mind was.... 'what is that? how are we to do that?? is it really going to be that difficult?' I'm such a sceptic!
Then we began.. string work uses royal icing with tip 1L. For a finer work... Tip 00 will be even better!
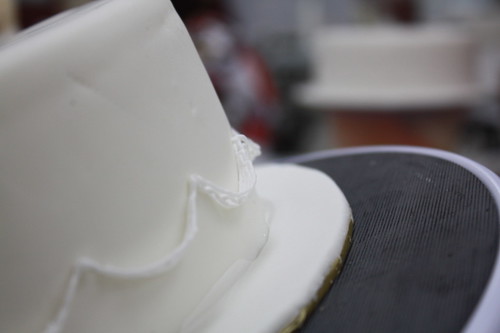
String work is a very tedious & fragile work. It breaks apart so easily and the worst case scenario is the fact when it breaks, it causes the 'dominos' effect where it will all break apart. String by string we have to pipe and without realizing we almost do not breathe while doing it for fear that our 'breath' may cause the string to break! Madness, right?
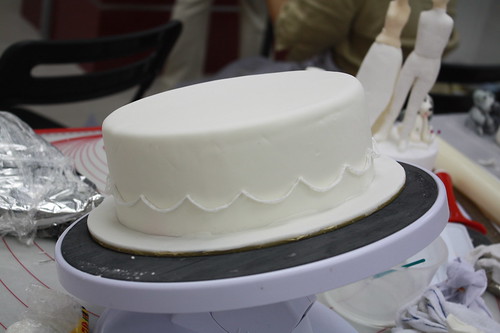
We created string works to form 'bridge'. To make one bridge, we have to pipe 6 line of strings. Am I even making sense? We have to pipe this all around the cake. Took me about 20 minutes and I was actually still thinking 'oohhh nice nice.. not THAt difficult' - *banging my head hard on the wall*
What happens next is over a period of 6 hours - non stop.

We have to do string-works of lines. This is most tedious because it is much longer and being in an aircond room, it hardens so fast it tends to crack before we end it. So we gotta move really fast. My first round of lines were too far apart. So I had to do double the job! Arghhh..
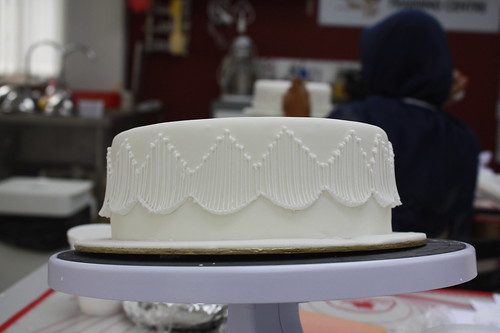
Finally all done - not
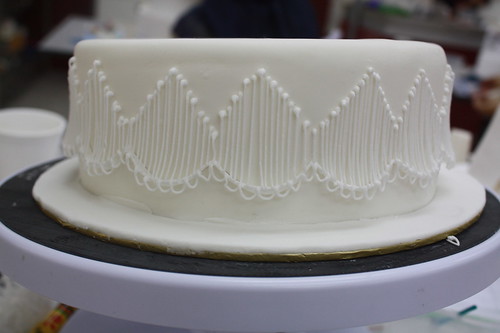
We then have to add these loops all around. Don't get me wrong. These are really nice but very tedious. Squeezing out royal icing is also another challenge. My hands were aching so bad but have to continue on...
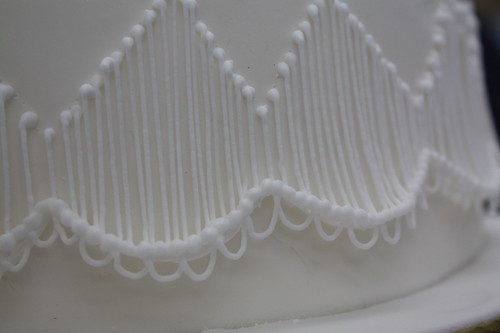
And then, we have to add on bead works. These are really challenging because we gotta do it continuously and be extremely careful not to touch those strings we've done!
And more beadworks on top and bottom of the cake... Then we have to add tiny dots on each of the string. These strings are already soooooo fragile... imagine adding dots on to them! The real test is to add dots without breaking these strings!

Only pros can do this while enjoying it.
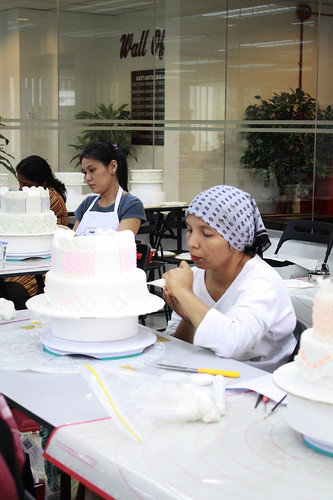
To release the tension and stress, I took a walk around...
See what others are up to.. snap some pics...
Nancy @ work

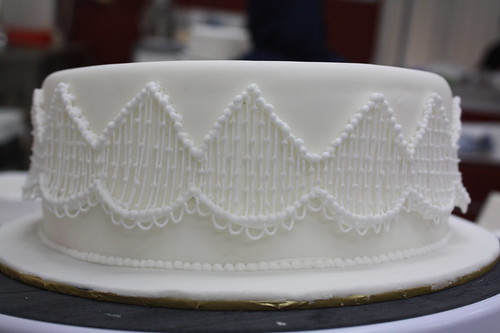
And finally (or-so-i-thought) we added those little pieces of royal icing deco on top...
So pretty & delicate. Do u know that in US & UK... these string works are charged @ USD3 per inch? I must have done meters of it! I doubt we can even charge RM0.30/inch in Malaysia! I may be wrong... there must be people who value this intricate work-of-art...
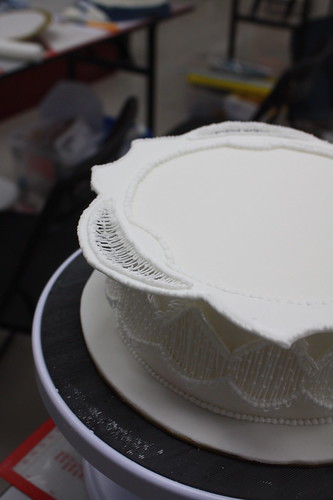
Remember the collar work we did earlier? Well, that is to go on top of our cake...

Lots of beadwork to be added on the collar as well as string work. My hands & neck were so stiff but I have to say that I am really happy with myself. I didn't think that I would be able to do this. I've seen pictures and always say 'Crazy! Who would do such things!!!' And after a total of 7 hrs on it... I'm a convert - a believer in string work :P

Pretty unbelievable eh?
DAY 4
Had a really good rest last night... now... back to work!
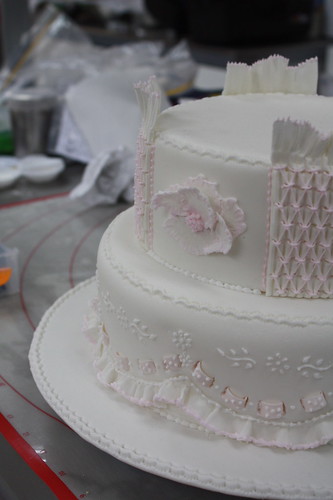
We are going to put our 2-tier wedding cakes together...
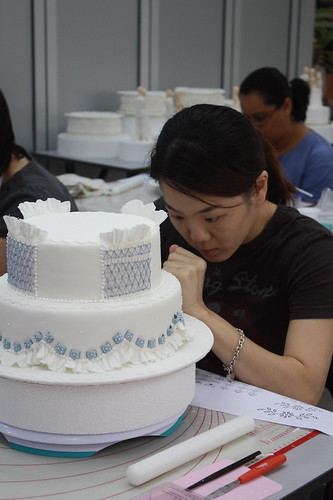
Rosalind then showed us how to do flower embroidery
This is what we have to do...

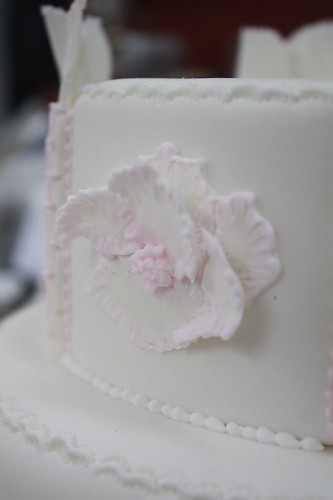
Flower embroidery... pretty eh? Brings it to life...!
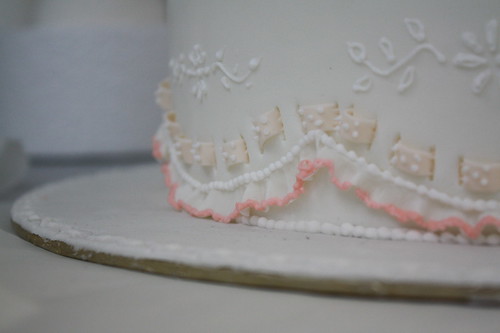
And i really love the frills... though the bead work was a big challenge as my hands have yet to heal from yesterday! Piping royal icing is now a big challenge!
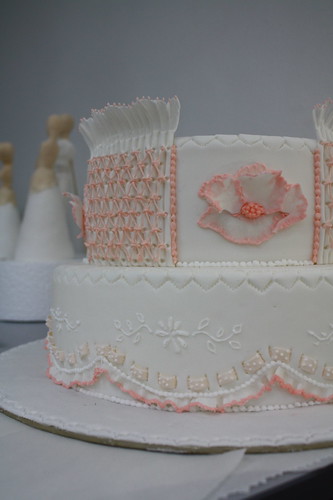
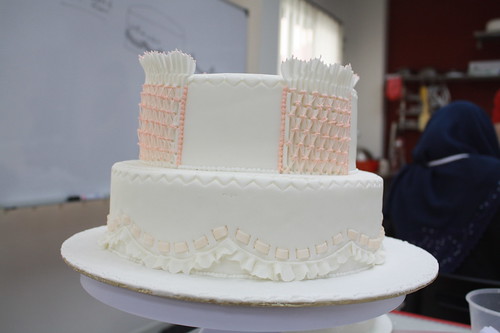
The end result of my 2-tiered wedding cake!
Then we are to do a greeting card out of pastillage & gumpaste

These are daisies before it is brought to life *grin* We then used our new color set by squire's kitchen. It gives you an oil painting effect whereas Wilton's will give u a water color effect.
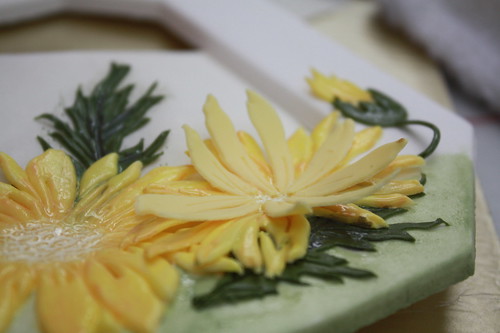
After painting and highlighting, we add another layer to give the daisies a 3-d effect
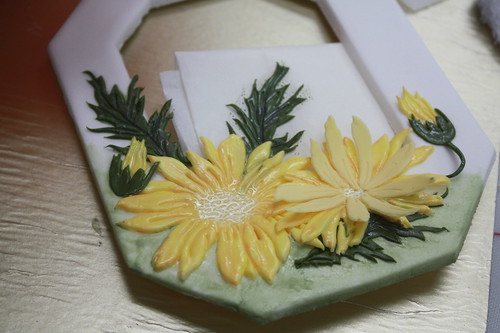
Pretty right?
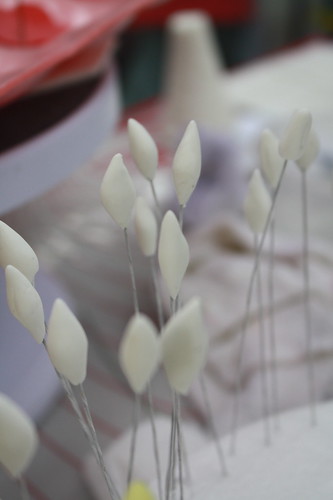
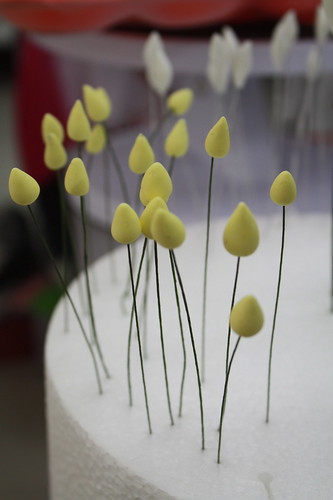
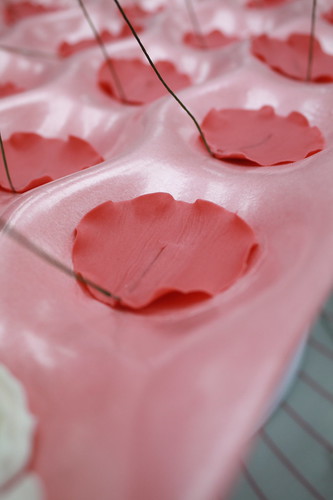
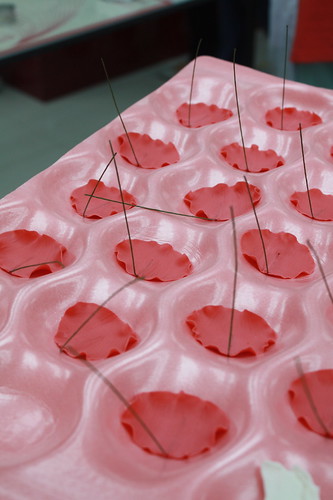
At about 6.00pm, we are asked to do many many 'buds' - 30 sweet pea, 20 berries, 3 roses, 5 poppy... Everyone started to panicked and rushed! We are allowed to bring them home to do it but it is quite inconvenient. So we rushed to finish them. By the time i finished, it was 8.30pm!!
DAY 5 (our finale)
I no longer take this 5 days lightly... It is very very challenging indeed. Lots to learn and cover. Most of the stuffs are new to me and I just love feeling my adrenaline pumping and working taking over my mind! :P
We started off with petals for the poppy flower. Having done roses during the 3 day course is such an added bonus. It felt a lot easier... hahaha i guess 'practice' really does help! 5 flowers in total... so we needed 20 petals.
Then we were shown how to do the roses... I actually prefer this method!

And voila! My rose!
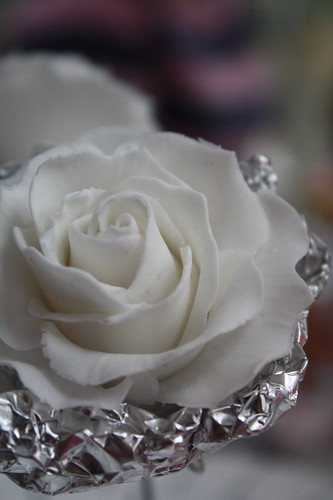
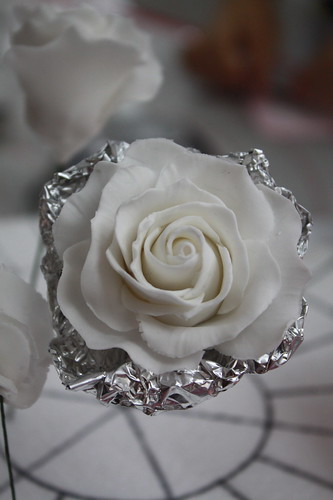
No where near teacher's rose but I am quite happy d...
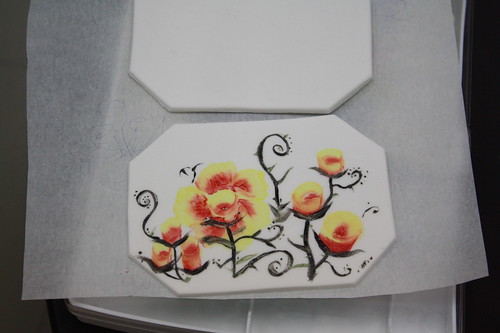
Then we are taught on folk art painting where u only use 'one-stroke' for painting. This is the result of it... I am not too pleased with it :( It can look really really nice!

Adlina watching Nancy work..
----------------------------------
Note: these pictures are back dated - these are taken yesterday!
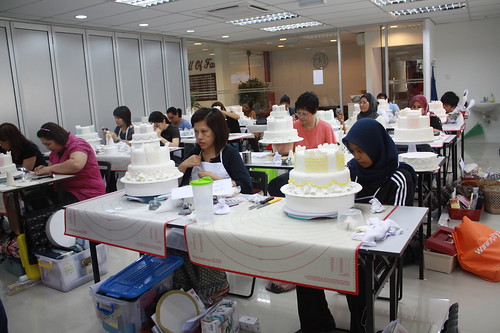
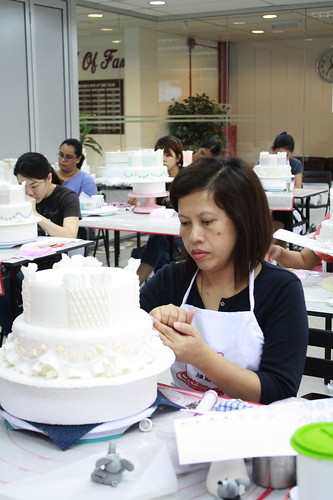
See how serious everyone is...


----------------------------------
Then we dusted our flowers. By the time we started to dust the flowers, it was 4-5pm already. Rushing like crazy then...
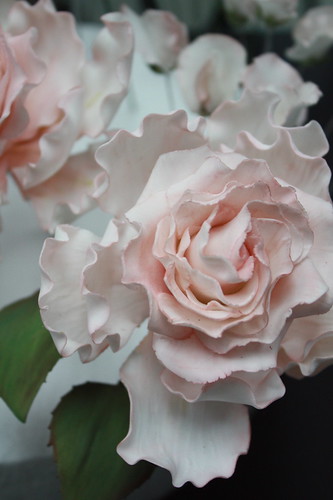
ohhh but i really love these roses...
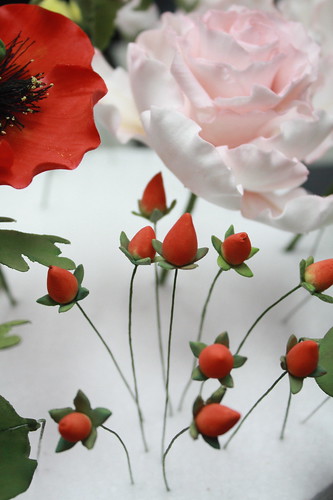
& these berries
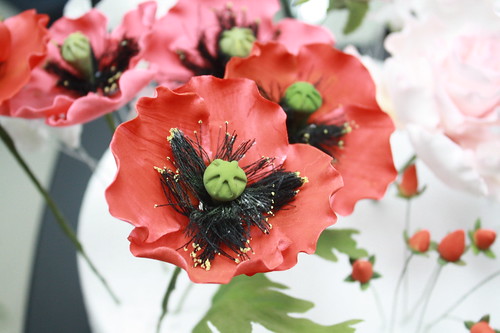
and these poppy flowers
all my flowers from the 5 day diploma
I'm a full convert - i love love love sugar flowers!!!
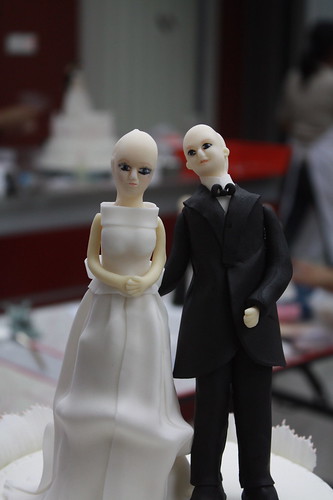
after dusting our flowers, we have to work on dressing up our bride & groom. No time to do the hair :P left them 'botak'
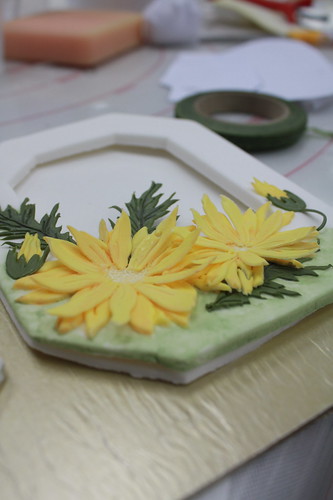
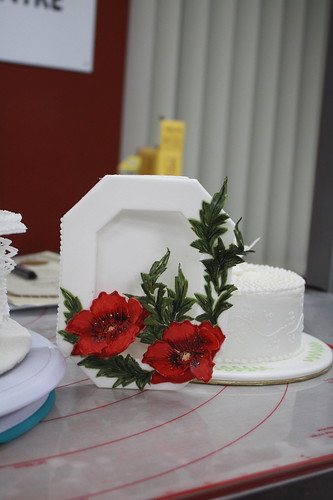
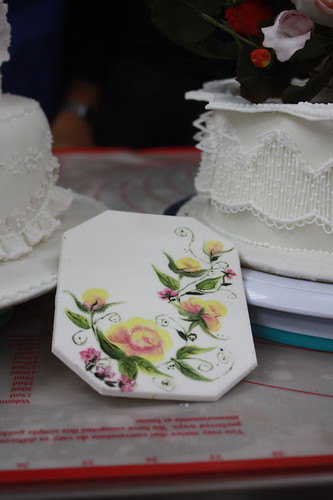
My finished product of photo frame - love it too!

Quite real-eh?
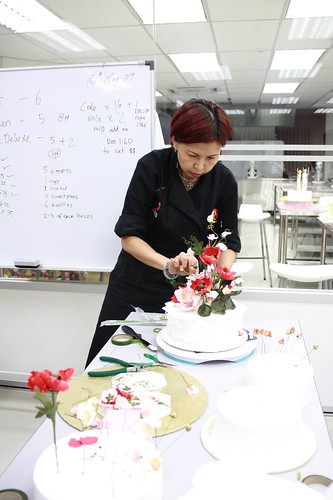
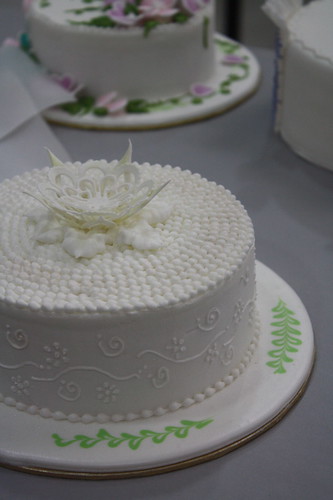
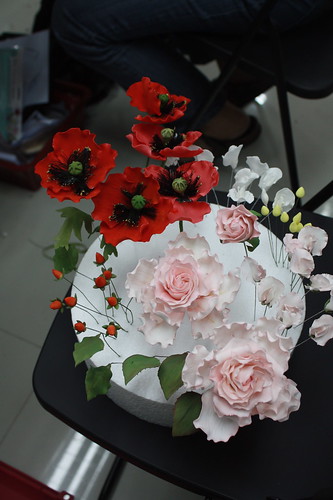
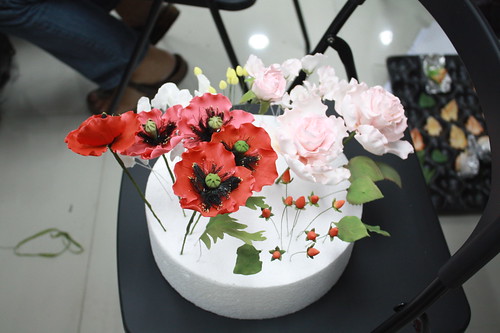
Rosalind is doing flower arrangement on the stringwork cake to finish up our 5 day diploma
work-of-art by Rosalind
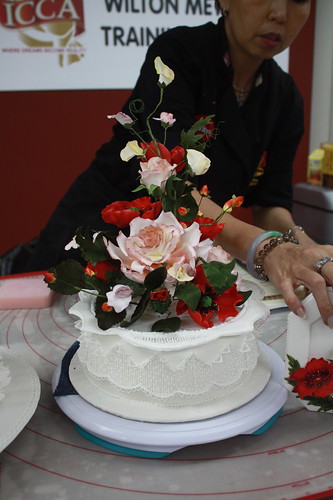
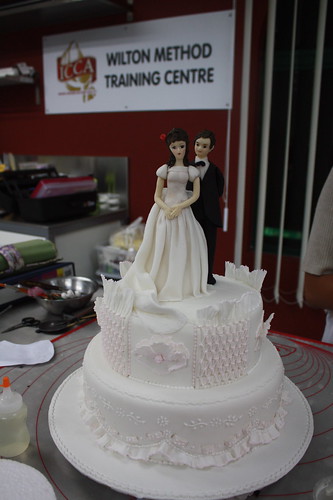
1-tier wedding cake
Greeting card
Folk art painting

Bridal couple
2-tier wedding cake
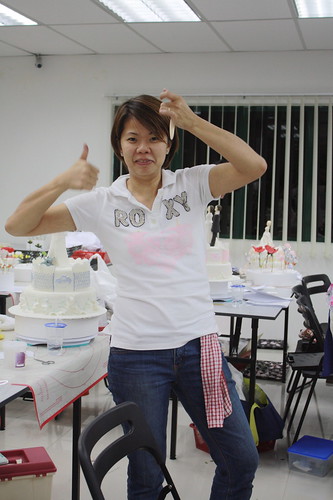
Despite the frustration everyone was under... Erica, another hot mama was still hyper & high in energy! hehehe
Mok bakes delicious french pastries for our tea time daily - thank YOU!!!
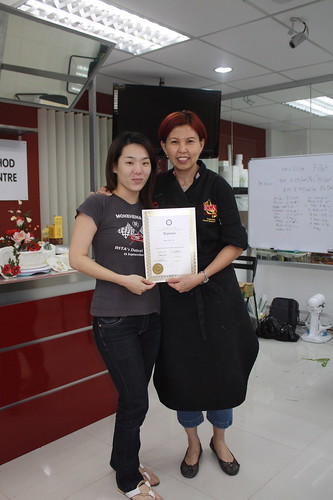
Finally, the graduation ceremony,
(sorry i did not take pics of everyone)
Chai Lin
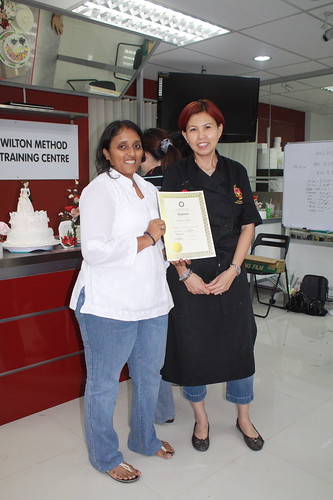
Shobana

Myself :)

and all of us together!!
WE DID IT!!
it was great meeting all of you
& it was definitely a great 5-day course!
**I enjoyed myself thoroughly**
Thank you Rosalind for challenging us to our very max
& feeding us with all the new techniques within such a short period!


